new
Didit Checklists
Automatic assignments of checklists to issue types in Jira Cloud
You can decide for which issue types in your project you want to assign which checklist template automatically. If a new issue is created afterward, this issue will have the selected checklist attached automatically.
This is how you do it:
- Navigate to your project in Jira Cloud
- Click on "Project Settings".
 If you do not see this navigation option in your project, your user most likely is not allowed to access this area and make changes. Please ask your Jira administrators to give you the rights or to make the needed configuration for you.
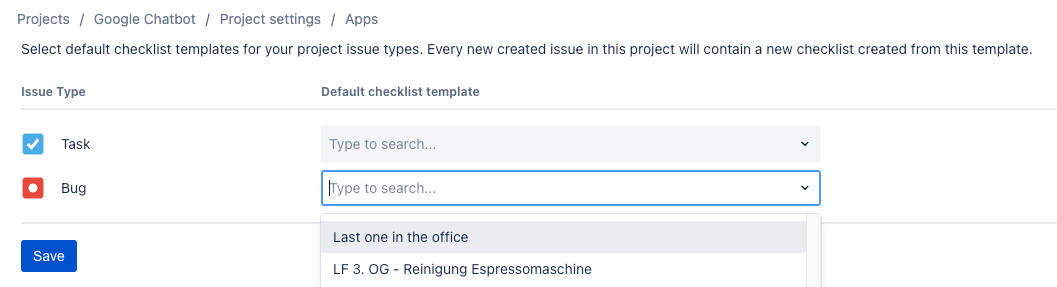
 - Choose "Assign checklists" in the "Project settings" under "Apps":

- Assign the checklists to your issue types. Each issue type in a project will get its own row and can be configured individually. You can also leave our checklist assignments for issue types.
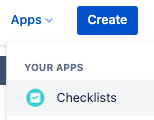
- If you feel, that you want to change your checklist templates or need to create new checklist templates please do so separately (in a new window) under "Apps > Checklists".
- Repeat the configuration procedure for all projects that should have checklists assigned automatically.
In our view, this new issue really changes the way our checklist app can be used. Up until now, you had to rely on individuals to create a checklist whenever it was needed. Now you can automate the creation of a checklist and get more control of the wholistic workflow in Jira.
Please also refer to our official documentation for this specific feature to learn more.